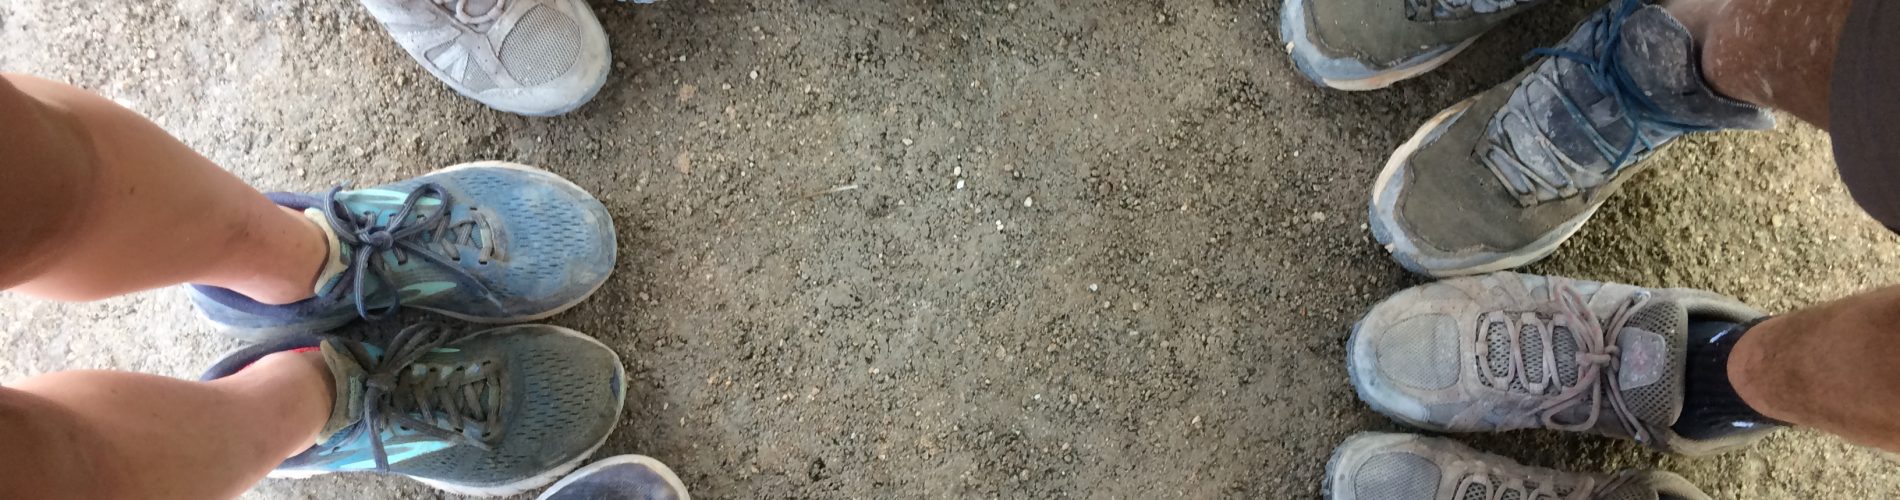
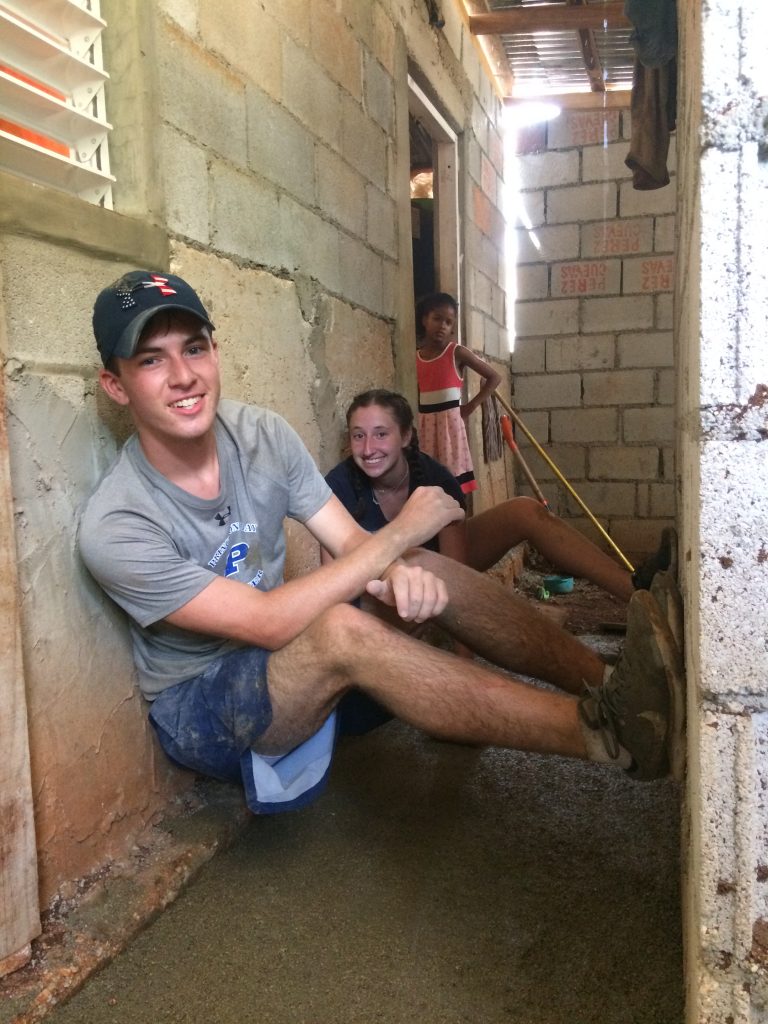
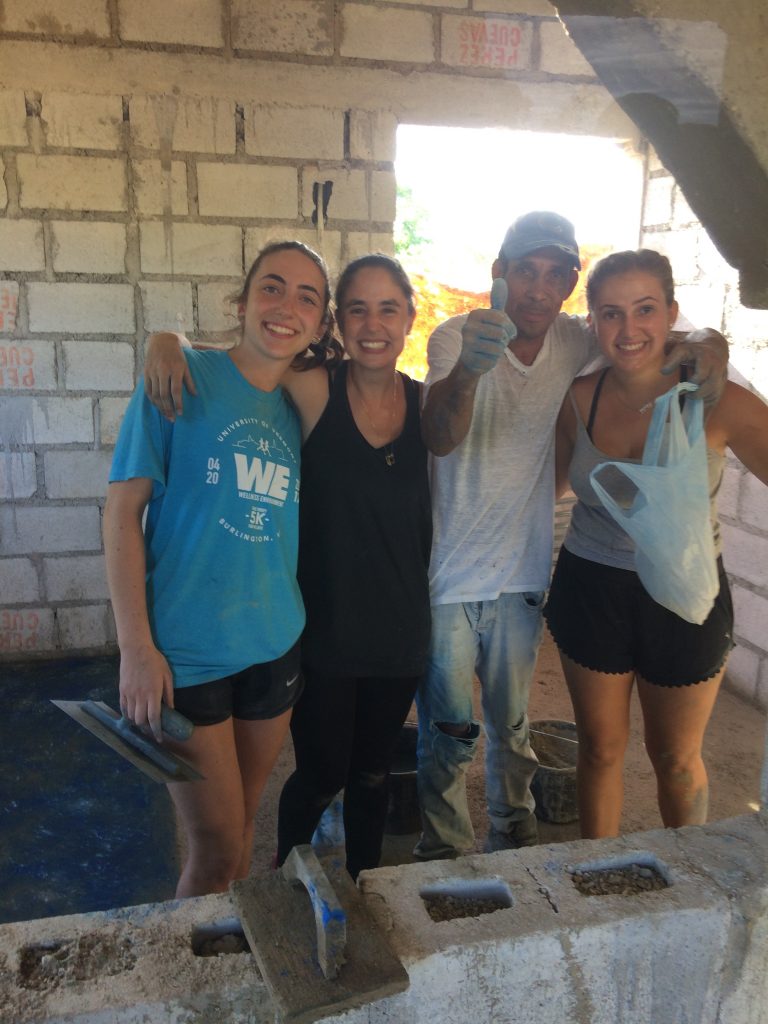
Since we arrived we have been working with the community to improve dirt floors to cement floors. We have been learning from the maestros and today, after a couple of weeks of doing it with them, we feel we are basically maestros!
We wanted to share with you the process of floor-making. Since we started to do this, we now look at the floors of the places we visit and appreciate the technique, the finishing touches, and the details. In general, the group feels like we have a new appreciation for the work that goes into it, something we had never thought of before coming here.
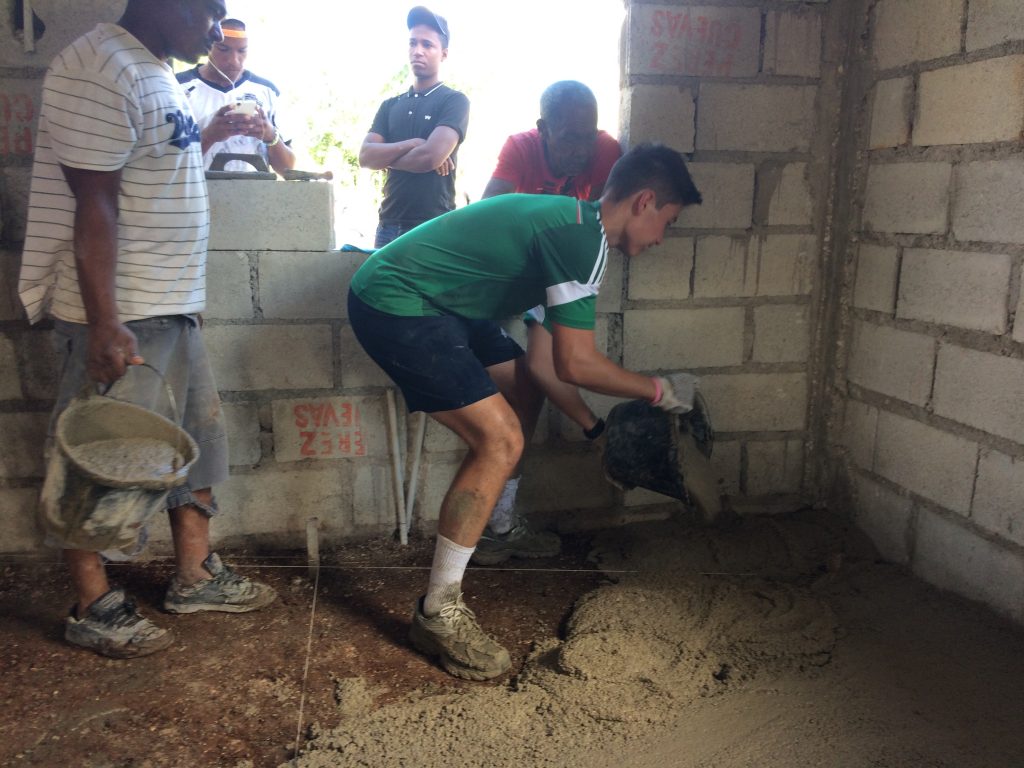
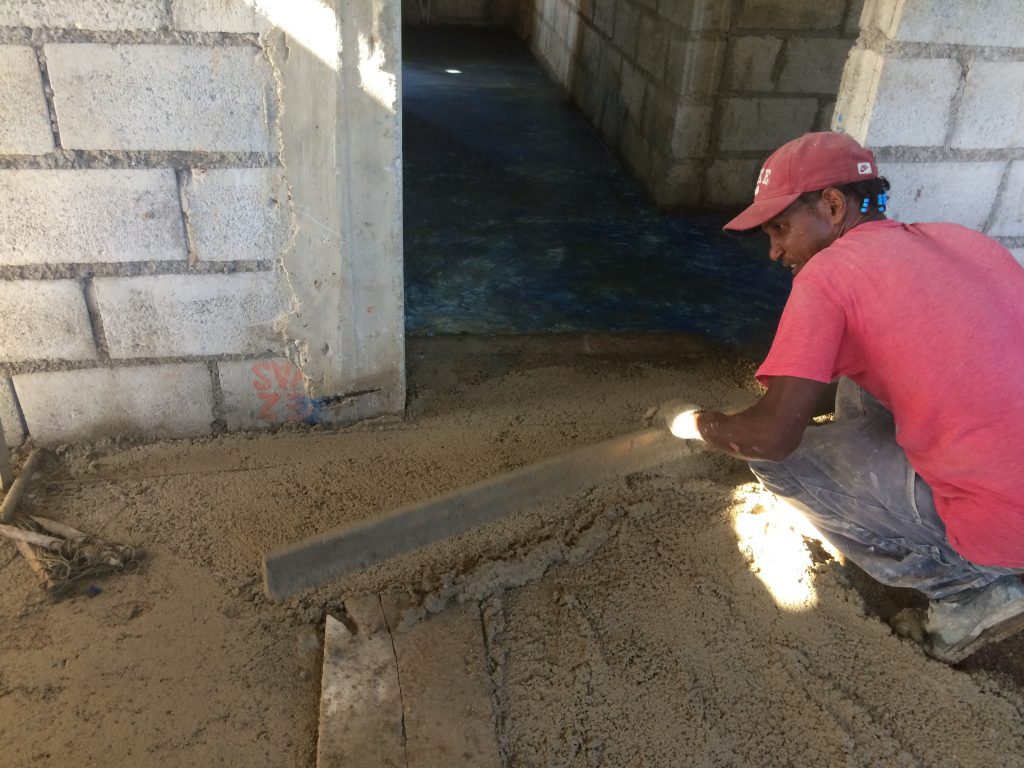
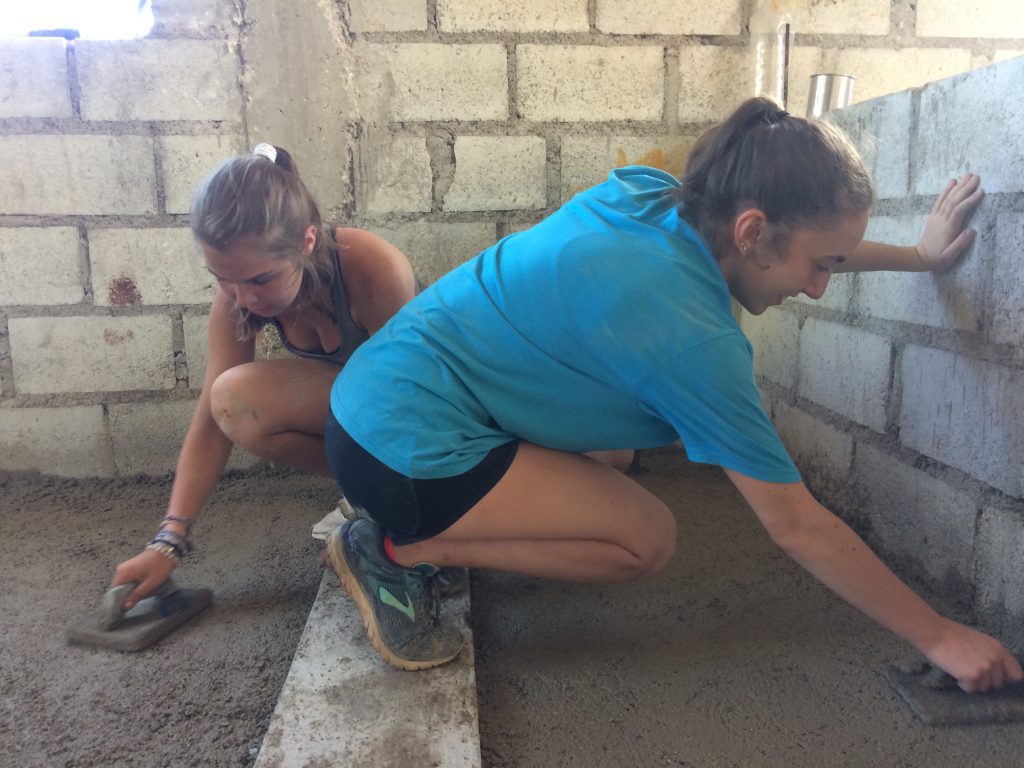
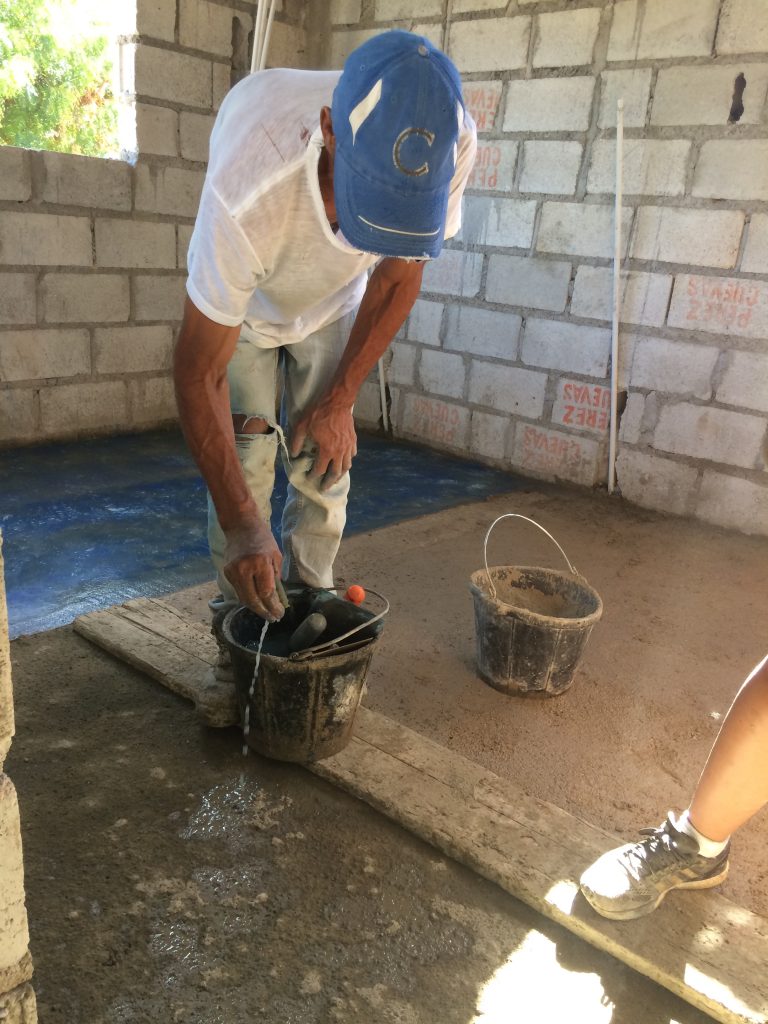
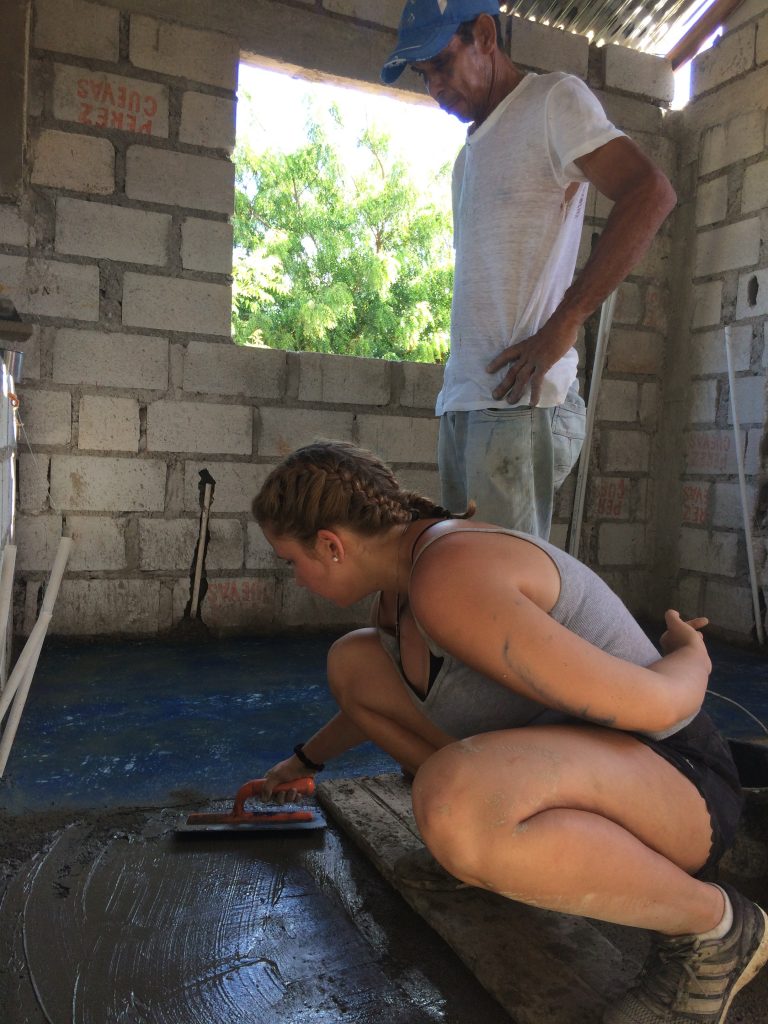
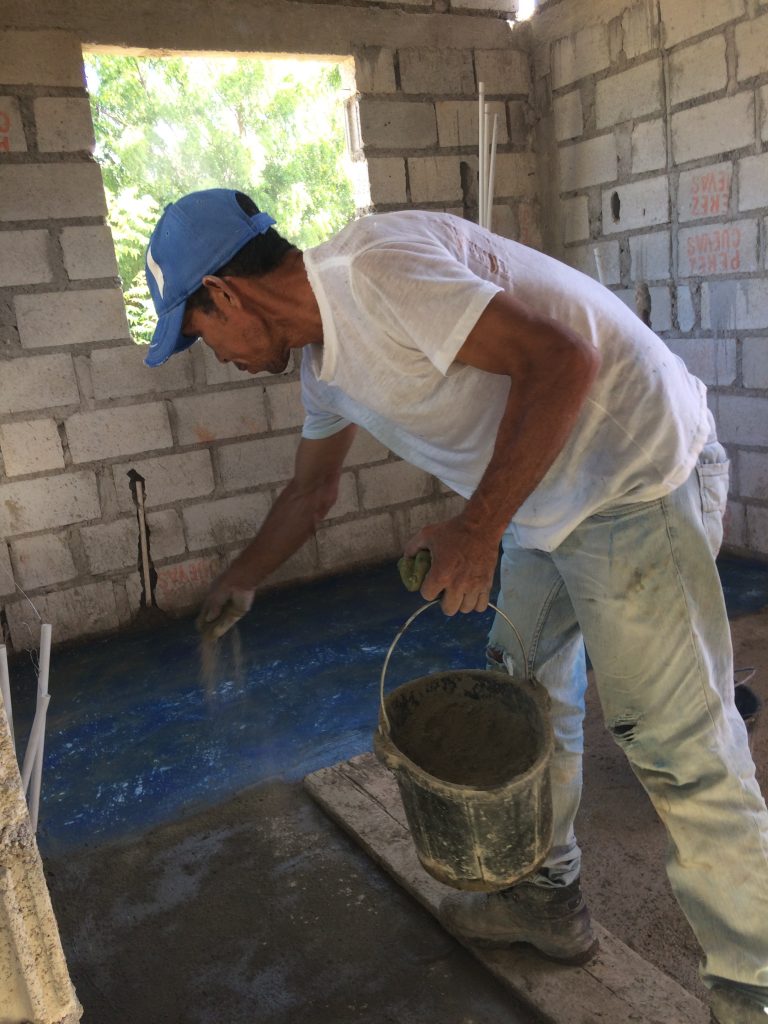
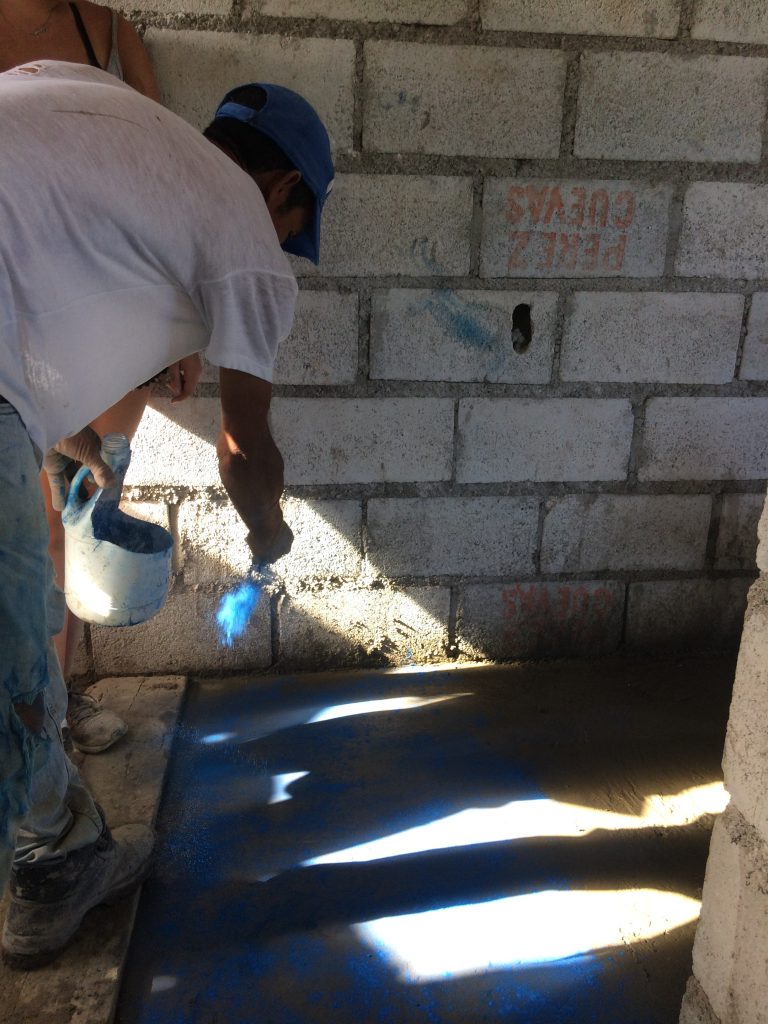
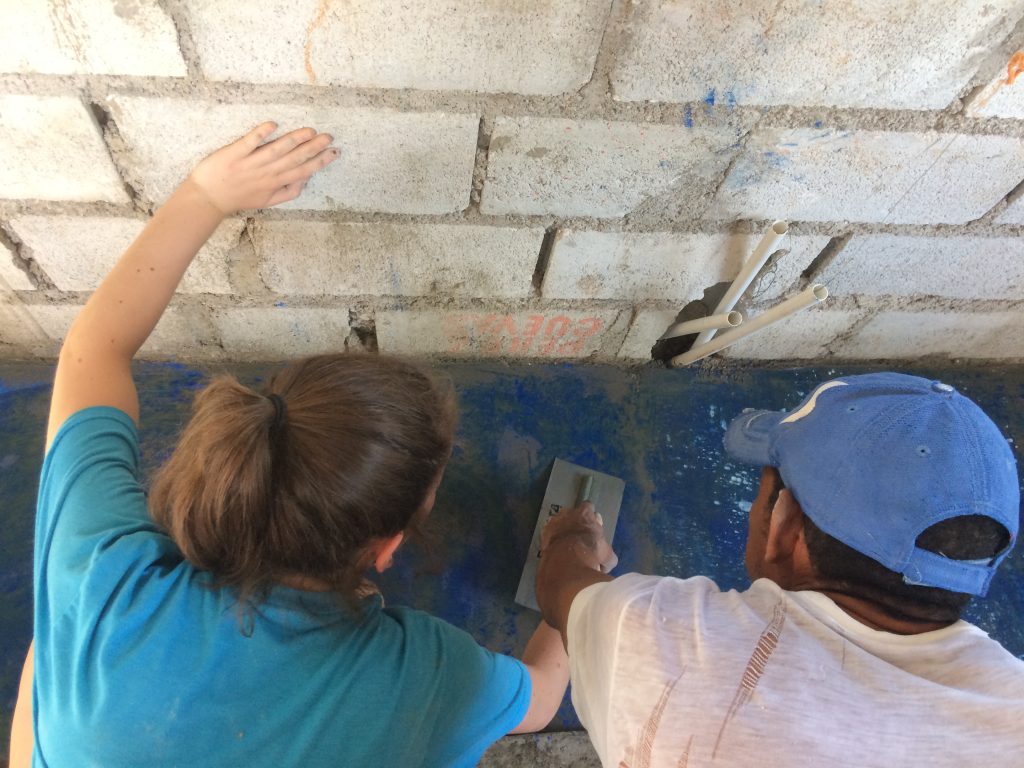
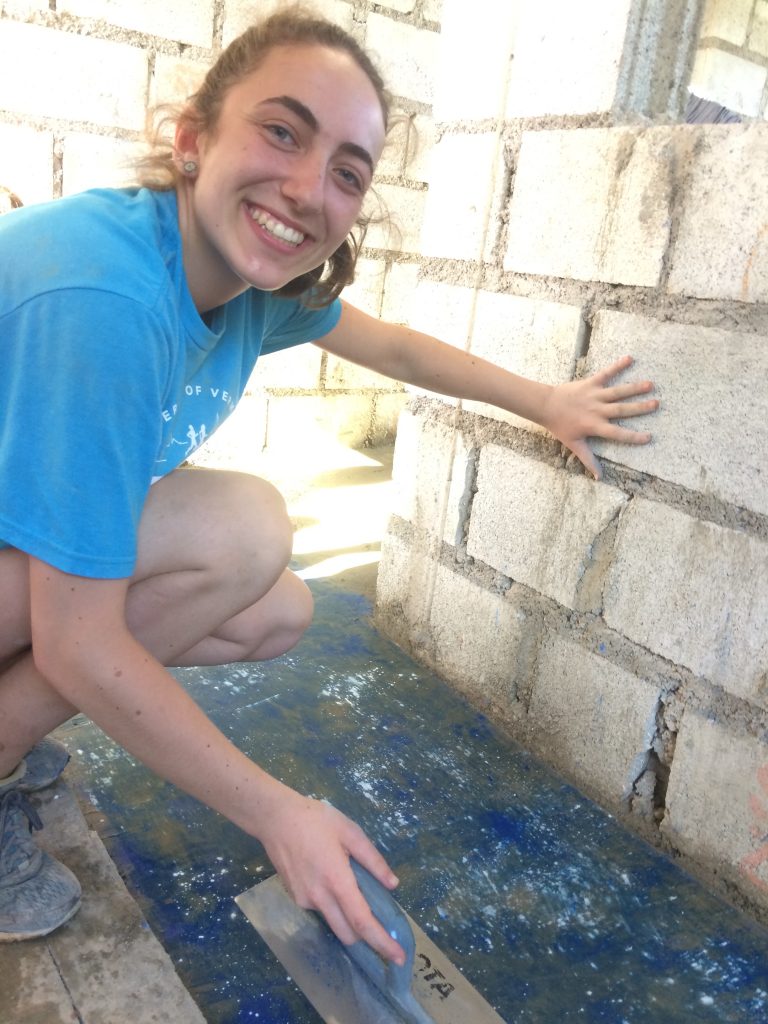
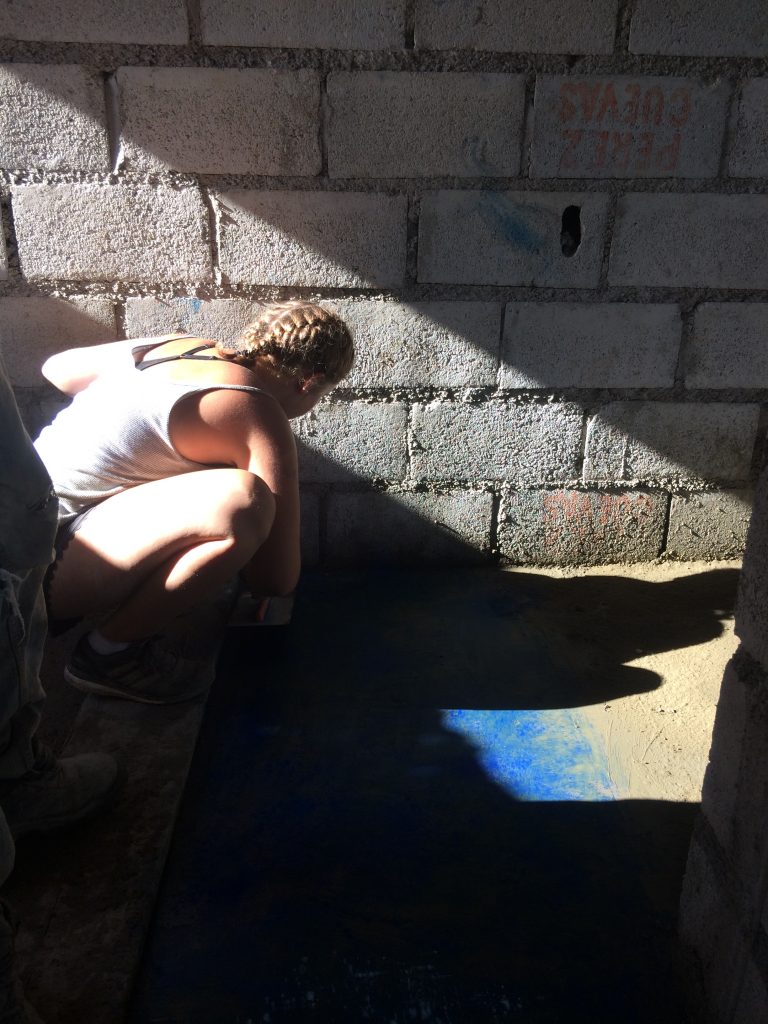
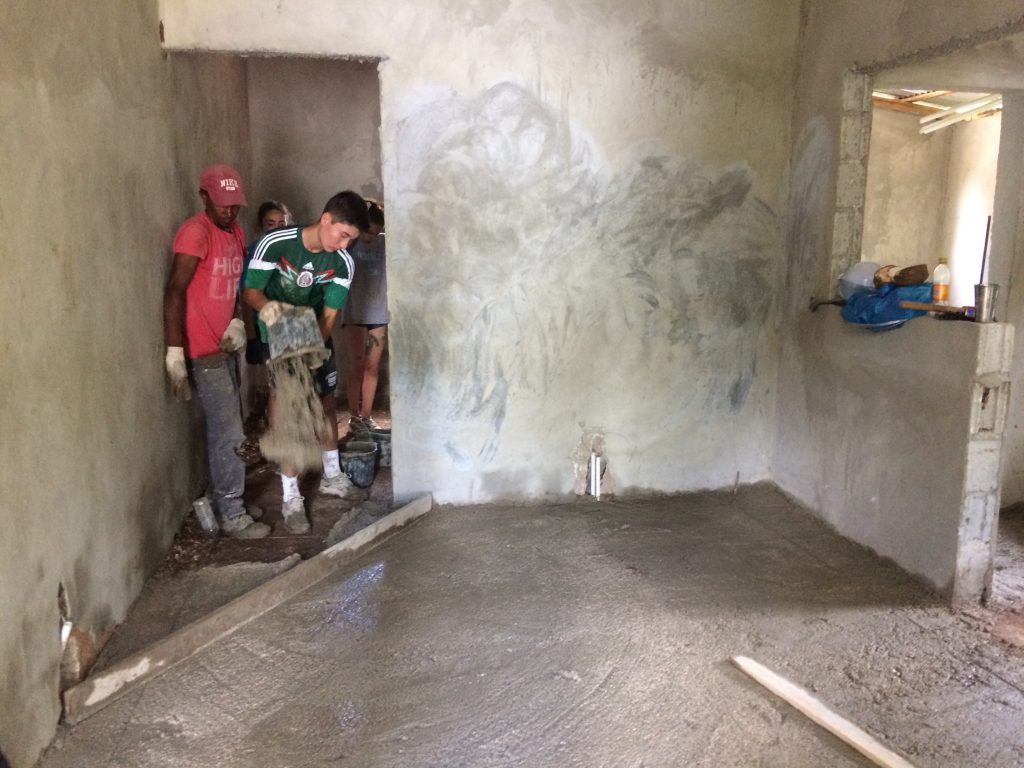
The process starts with mixing the sand and the cement. The ratio is 2 of sand for every 1 of cement. There is a very specific way of mixing it. Here, we are showing you what we call “the pool” where the powder is opened and the water is poured inside. It’s a ton of shoveling but the transformation is great to watch.We then start a chain of buckets, from the cement mix to the room. The buckets get there and have to be poured in order, making lines throughout the room.The maestros have previously organized a rope surrounding the room that gives them the lead of how thick the cement has to be and makes sure the cement is leveled. Here, Micea, one of our maestros, is smoothing the cement we just dropped with a long and straight piece of wood. This step is always done by a maestro, although some of us were able to try it under supervision!We then use a wooden tool to smooth the cement even more using circular and patting movements, especially making sure the borders don’t have residue that can be used elsewhere.Sometimes, working can get a little acrobatic since we don’t want to step on it but need to keep working!A layer of dry cement is delicately dropped on top. We let it soak a little bit!Then, our favorite part begins. With a tool called llana, or a flat, and using the sides, we start smoothing the cement. It takes patience and a delicate touch. The llana has to only touch the surface and the idea is to move the material from one side to the other to make sure all holes are filled. It is very satisfying to watch and to do. What the maestros do in 1 min we do in 3! We figured out the best tip is to have no fear of ruining it while doing it and just going for it!A second layer of dry cement is poured, only in the places where you see a hole or a pore. The locals call them “cockroaches” and we have to make sure there aren’t any, just like in life in general 🙂Smoothing, one more time, making sure it is perfect!For a couple of houses we got to color the floor! We used a pigmented cement that comes as powder. The powder is dropped delicately on every inch of the section we are working on.Then we have to smooth it one more time. The color comes to life as we move it and smooth it. Our favorite one was this blue, so bright and alive!For this particular house, they wanted a finish with white cement on top after the pigment. This made the floor look like a little galaxy!Every step is very detailed and we took turns to learn how to do it.In this case, this team got the thumbs up from our maestro!We did three rooms in this house and at the end it looked beautiful.This is how it looks when the floors are not colored; the grey cement is smoothed as well.
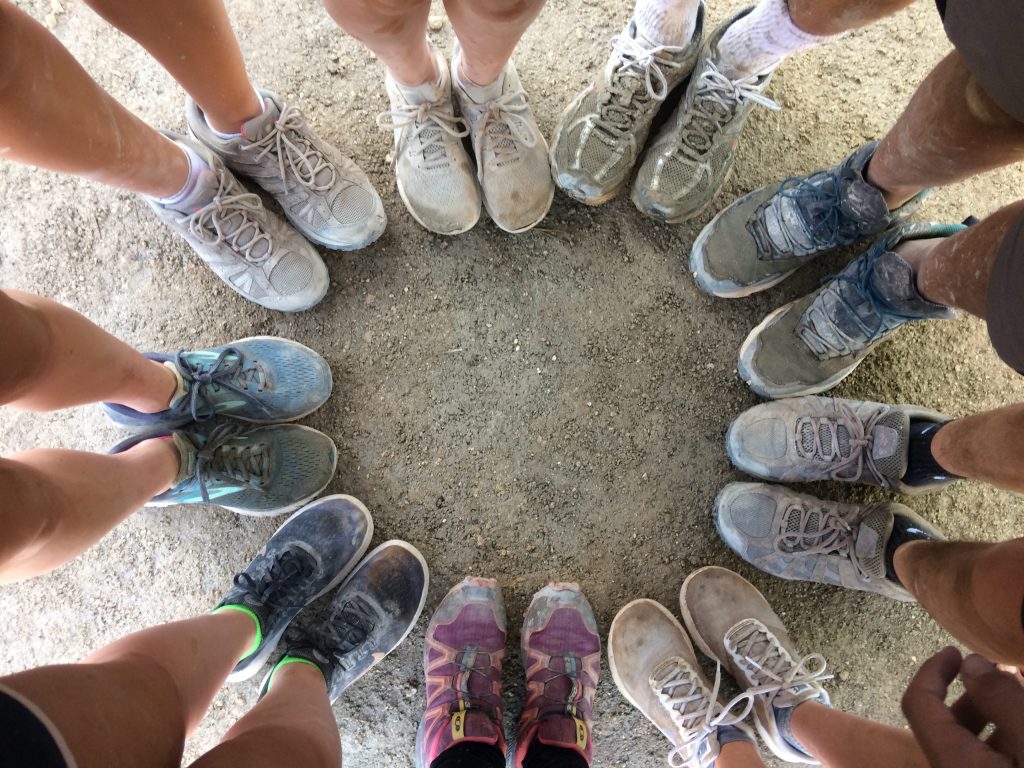
It’s hard work! We get dirty and we are tired by the end of it but it’s also fun and rewarding to see the final product. We hope you enjoyed reading this as much as we liked doing it and showing you.